I have been enjoying using acrylic brush markers for mark making on acrylic paintings and mixed media artworks. In this video I explain their benefits.
My painting group participated in a really interesting workshop last month with Bridget Seaton, a local artist. It was all about making greys or neutrals. That probably sounds a bit dry to the average person, but it was truly fascinating to all of us and, as you can see from the colour charts I made in the workshop, grey is not just grey.
In the first image below, each column of grey mixes are created from a blue, a red, a yellow and adding white in increasing amounts. There are cool and warm blues, reds and yellows and this influences the resulting grey temperature.
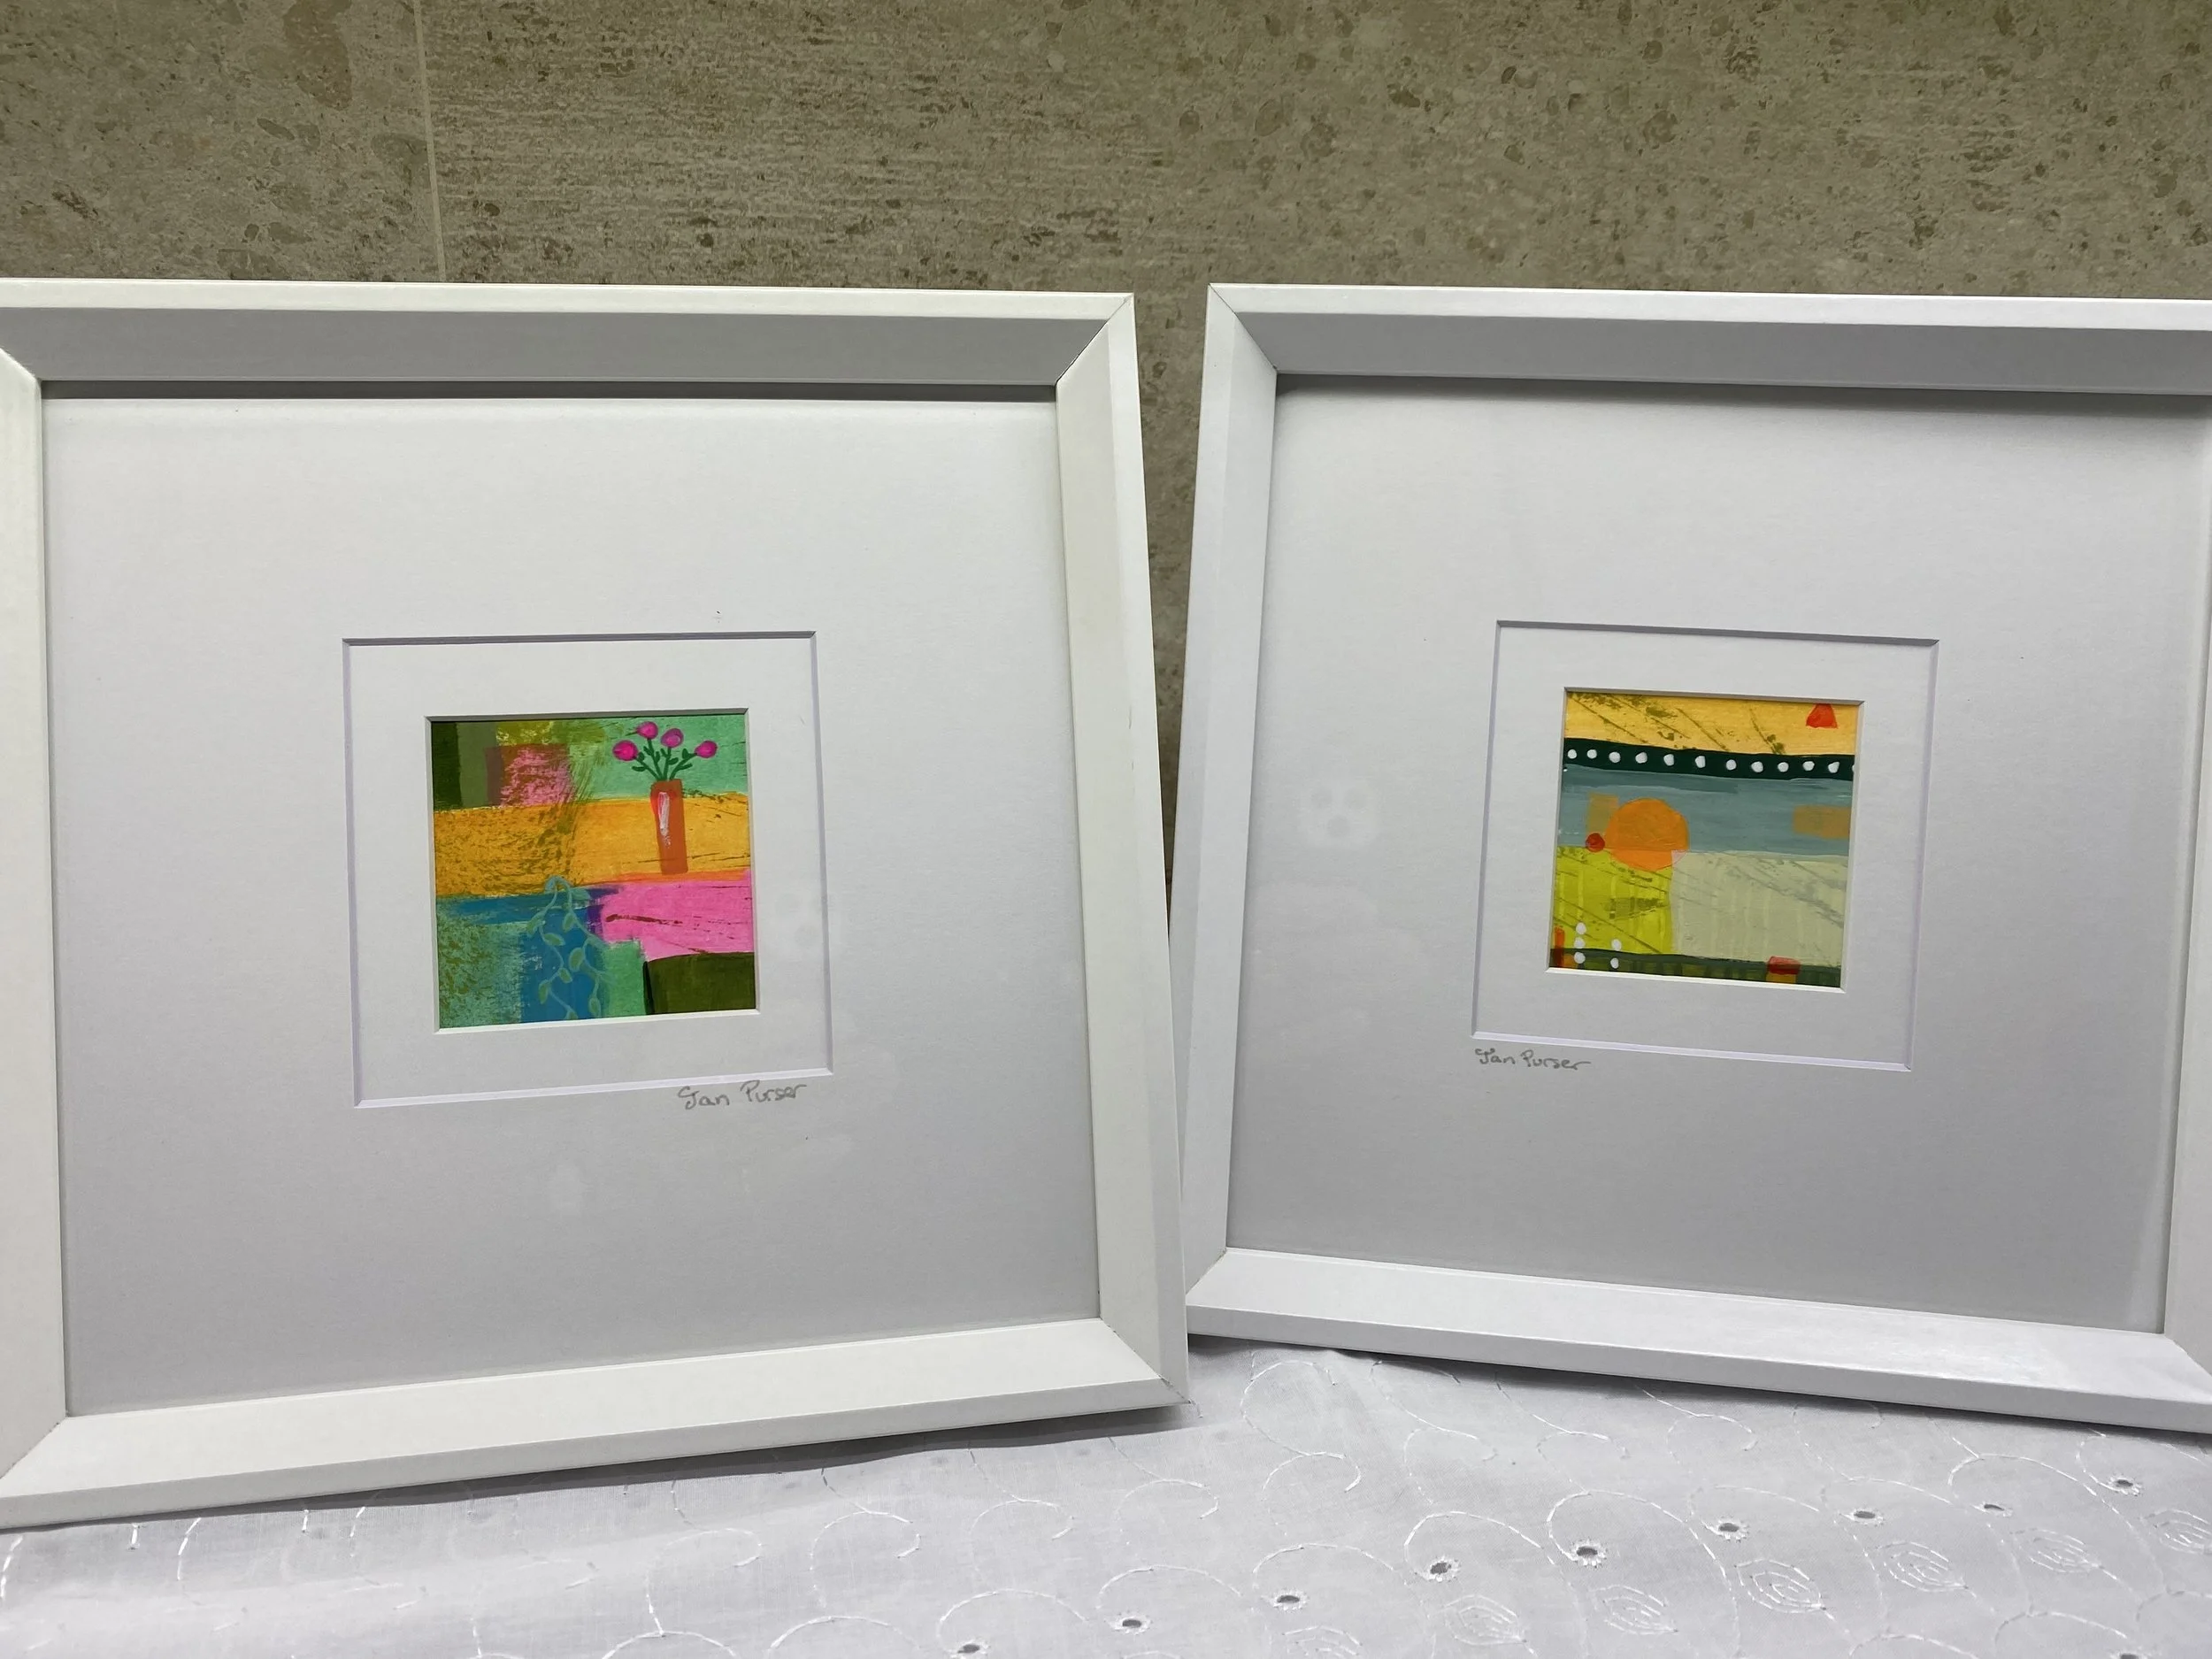
Mini paintings are a great option if you have little space for painting. In addition the little paintings make wonderful affordable original art. Sometimes a person would really love to buy some art but it might be beyond their budget at the time. That’s why I make the minis so that everyone can enjoy owning art.
Before I start painting, I section off a large sheet of 300gsm watercolour paper using narrow tape into 6.6cm squares, usually using washi tape which is easily removed afterwards without ripping the paper. You need to allow a little excess around the image size for framing.
I painted this artwork as a gift for a nephew and niece-in-law for their wedding present. It was a fun one to work on. It is 101cm x 76cm.
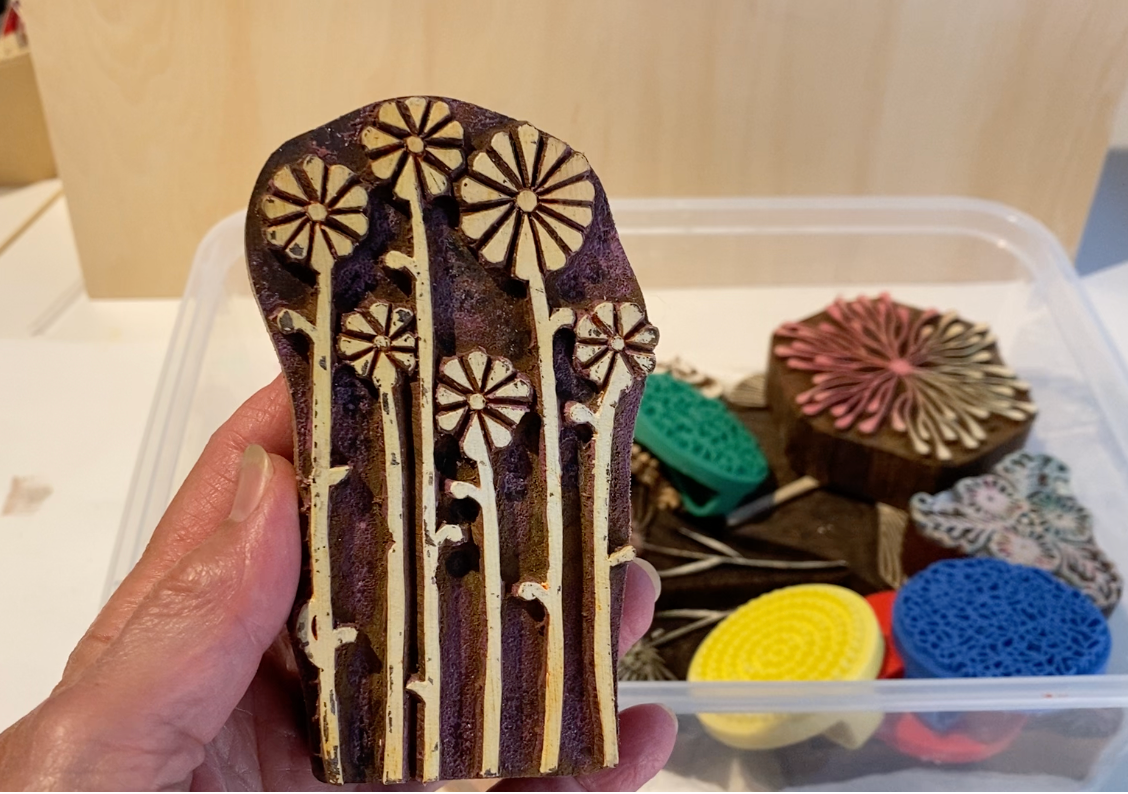
I started by spreading a thin layer of moulding paste onto the canvas and then used the end of a paintbrush to mark the design to create texture and interest before the moulding paste dried. You can do this in sections so the paste stays moist. You can also use stamps and linocuts to create texture in this fashion.
Then using professional acrylic paints I painted the background colours, using the darker tones to start with and I mixed some colours with clear medium to make the paint more translucent where needed.
After that, I brought in the lighter colours, then highlights. It's important to check the tonal values (darks and lights) and I do this by taking a photo and converting it to black and white on the photos app. You need good contrast of tone and also colours for a painting to work well.
I used the @smartist app to pop the painting into different settings to see how it might look. This is always loads of fun.
My nephew and niece-in-law love it and I'm so glad Uplifted is in its new home.
This shows the progress of a recent abstract painting and how it developed along the way. When it was finally completed I named it "Alive". This painting is 1 metre square on a stretched canvas.
When I begin an abstract painting I may have a vague idea of what I would like to do. Then as the painting develops it often changes direction like this one did. Colour choices might also change and this can depend on what I feel the painting needs to lift it or add contrast and excitement.
I tend to choose bright colours rather than muted and I have pondered if that is a psychological need for zing in my life or just that I love bright contrasting colours? Food for thought!
Sometimes when faced with a blank canvas I used to catch myself procrastinating. I felt like making those first brush strokes might ruin the whole painting before it’s even progressed. That all changed after listening to Nicholas Wilton from Art2Life. He recommended going straight in and making the first marks with paint or pen to get over the fear immediately.
Welcome to my January news
This year I have a little more time to spend in my art studio and I can keep you up to date with the latest paintings, blogs and videos. There's quite a lot going on this year and I can't wait to share my news with you …